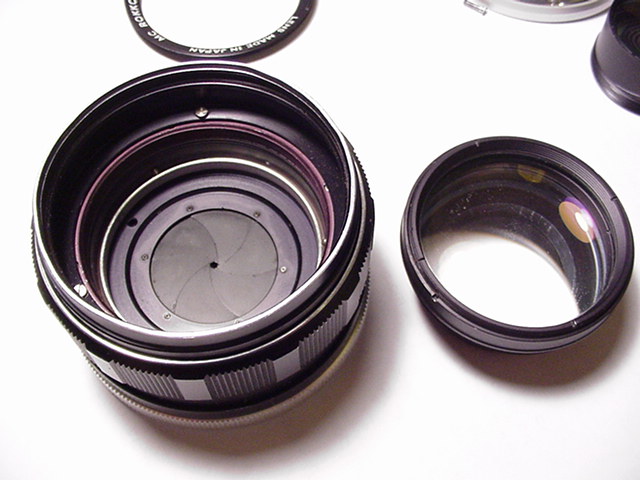
This lens frequently suffers a problem with oily aperture blades. To repair it, you should remove the lens elements. Starting with the rear part of the lens, there are 8 screws retaining the lens mount. Determine which are the longest 4 and remove those as shown below. Then lift up the lens mount and set aside. Be careful not to lift up the aperture selector ring as there is a small spring-loaded ball bearing under it (the click-stop ball). Then you can unscrew the rear lens group and set this aside. You can see I have done that in the third image below.
Below: the oily blades can be seen.
Below: Between the letters PF and the numbers 1:1.4 you will see a slot in the outer retaining ring. Unscrew this carefully with your spanner tool. Remove the lens ID ring and set it aside. Then you will see an inner retaining ring (has 4 slots) and slots on the lens body collar. Do not touch the inner ring, but loosen the body using the outer slots, unscrew and set aside.
As you look at the aperture blades, youíll see oily deposits. Below, you can see Iím dropping some naphtha onto the blades. Then I will use the aperture actuating pin (visible in the right side of the image) to work the blades open and closed. Iíll add naphtha as needed until all is clean. You can see me using my finger to work the aperture open and closed in the image below this. Let dry well.
Once the aperture is completely clean, dry and working smoothly, clean any dust from the interior surfaces of the two element groups you removed and reinstall them (screw them in). Replace trim ring and lens mount (being sure to engage the aperture actuating lever with the pin) and youíre finished.
 Jon Goodman --- 2008
|
