Re-cementing lens elements with Canadian balsam
Often you will find a lens which looks cloudy or which seems to have many tiny white spots imbedded inside one of the elements. If on further disassembly and inspection, you find the problem is a cemented doublet, you may need to re-cement it. An achromatic doublet is 2 pieces of glass used in combination to produce fewer color defects. In almost every case, one element will be flint glass and one will be crown glass. Both glasses have different refractive qualities. Please read these instructions completely before you do anything to your lens.
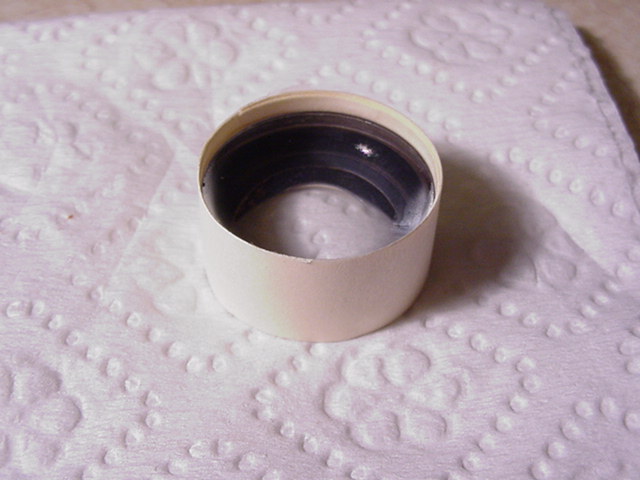
Above, a typical cemented doublet. In this condition, it is useless. You can see it is quite foggy with white specks that resemble falling snowflakes and an odd center spot that looks like a contact lens. I�ve taped stiff paper around it to secure the lens elements. In order to repair the lens, we must first separate the two elements.
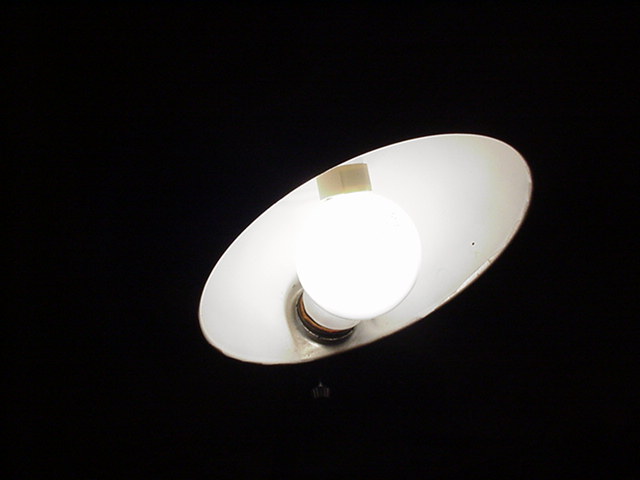
In the image above, you can see the stiff paper I have wrapped around the lens. This is because the elements are going to be very hot, and I don�t want to drop one when I separate them. In the image below, you can see I have carefully set this element on top of my light bulb. This is a 75 watt bulb. A 100 watt or a 60 watt bulb should be ok, also. Leave this element on top of the light bulb for about 10 minutes or so and then carefully remove it. Note: it will be very hot. Wear a glove or use a piece of cloth to hold it.
While the lens is still hot, push it out of the stiff paper sleeve and separate the top and bottom pieces. Push the top (crown) element sideways and off the flint. If you got the lens hot enough, separation will be easy and quick. You can also separate the elements in very hot water or in an oven.
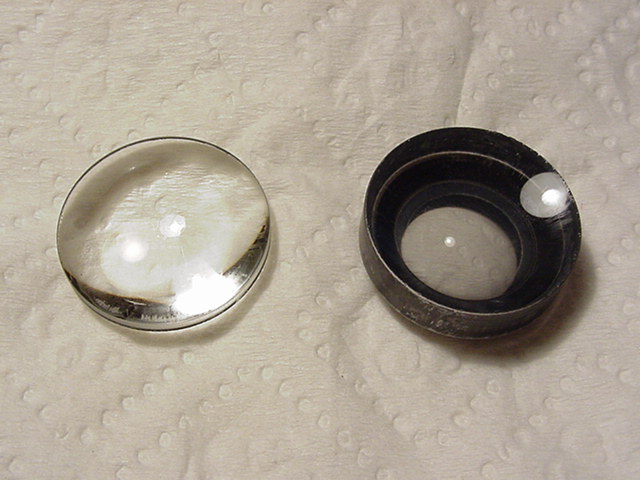
In this case, the flint (concave) is darker than the crown (convex). Since this is an older lens, the flint may contain lead. With the elements separated (and after you have made a note telling yourself how the two elements fit together), clean the old balsam off using xylol (xylene), acetone, 100% alcohol or mineral spirits. Clean them very well. Be sure to remove any dust or lint pieces or these will be forever imbedded between your elements.
~~HOW TO MAKE LENS ELEMENTS VERY CLEAN~~
After you have cleaned the old balsam completely off of your lens elements, they should be nice and clear. If you can not make them clear, you may improve them with a non-abrasive product known as FLITZ paste. This is actually used to polish metal and fiberglass, but you can also clean glass safely. Rub a bit on your elements and then polish with a clean soft cloth.
~~Canadian Balsam Solution~~
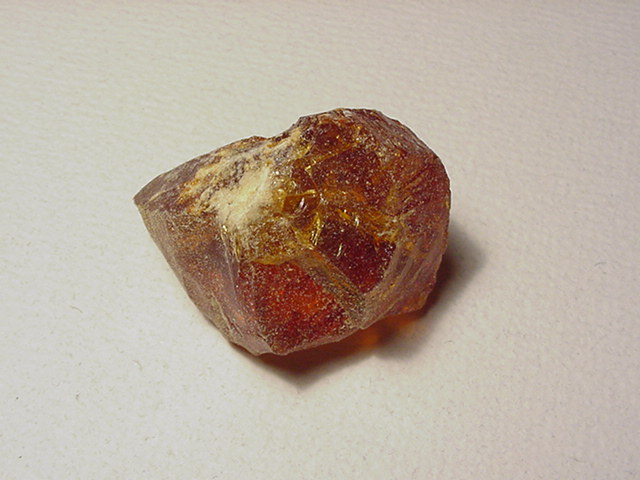
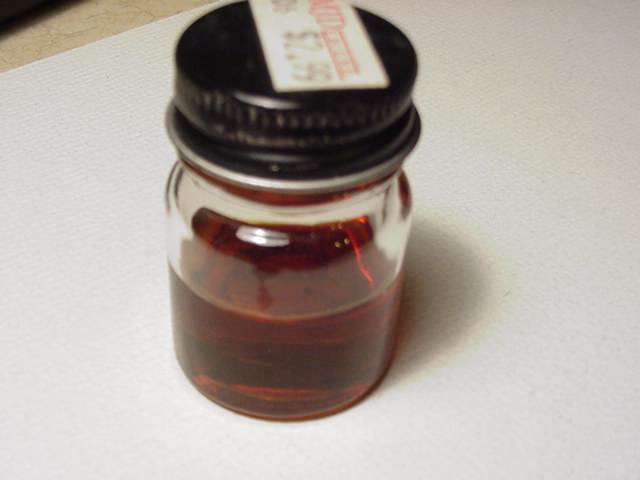
Canadian Balsam is similar to rosin, but not identical. In the absence of balsam, high quality rosin can be used. For lens use, balsam is the classic answer, and the best to use if your doublet was originally joined with balsam. There are alternatives: UV cured cement is ok, but it is expensive, and it must be used in 4 months or it goes bad. Also, you can not separate the elements once they have been glued with UV cement easily. So it is almost impossible to fix a mistake. If you are going to be doing much lens work, find some balsam, learn the technique of using it and keep it handy. The small jar you see below is a very concentrated solution I made about 10 years ago. Originally the little jar contained paint. Mixed balsam lasts a long time. Keep it in a small jar so that impurities (which will be present in all balsam) can settle to the bottom. You can also use balsam which has been prepared for microscope slide work. Above, you can see a piece of Canada balsam. Below you can see I have dissolved some into some xylene (xylol). I think you can also use denatured alcohol and maybe mineral spirits to dissolve it.

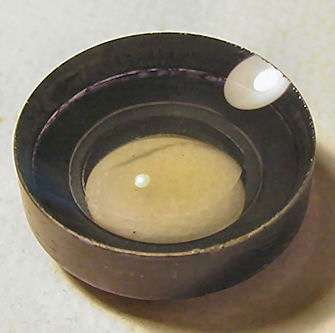
Above: in a film canister top, I demonstrate you can mix a bit of balsam with some xylene. Remember, I don�t need much for this job�about 8 or 10 drops of the cement will be plenty.
I will stir this until it is totally dissolved. Add balsam slowly until no more will dissolve.
I will place apx 10 drops of the balsam cement into the base of the flint element. Above, you can see I begin to do this.
 Then set the crown element on the flint element as you see above. It is better to have too much cement than too little, and excess will run out at the seam. Use your eyes and your sense of touch (and tongue) to line the two elements up at the edges. DO NOT place the paper sleeve back on the elements. It will draw the balsam out of the joint like a wick.
In the image above, you will see what look like black specks. These are air bubbles. It is normal to see bubbles when you first set the crown lens on the flint lens. Gravity will usually take them to the perimeter and they will escape through the joint line. If this does not happen, you�ve got either (a) not enough balsam in the joint or (b) a poor fit. Add more balsam and try again. You will also see along the bottom edge that balsam cement has run out of my joint line and has collected there. Don�t worry. We will remove it with solvent. I mentioned your tongue above. Your tongue is incredibly sensitive to differences in height. You can use your tongue to easily tell if your elements are lined up correctly.
Ok, when the crown element and flint element are lined up on the edges and you see no more bubbles between the elements, set this in a quiet place and walk away from it for 1 week (minimum) to 1 month. Walk away means leave it alone. Balsam cement dries slowly. If you have a sunny window, you can set the element in the warmth of the sun, but do not place it where the temperature will exceed about 90 degrees (f). Some people will place the elements into an oven to cure the glue, but my experience has been this will cause the solvent to bubble and cause the lens elements to move, and I do not like this process.

When you�ve finished cleaning the balsam that has run out of the joint, you may notice that you�ve removed the black on the edge and around the back side. Get a permanent felt tip marker (I use the brand �Sharpie�) and carefully color around the perimeter as you see I am doing. Then color around the chamfered edge as you see I have done in the second image. Put your fingertip in the center of the lens to keep from coloring too far�you can clean your finger more easily than the glass.
All finished and back to like new again. Clean your lens very well, blow any dust particles off and re-assemble your elements into the lens body.
Copyright, Jon Goodman 2010. All rights reserved and no use without permission.
|